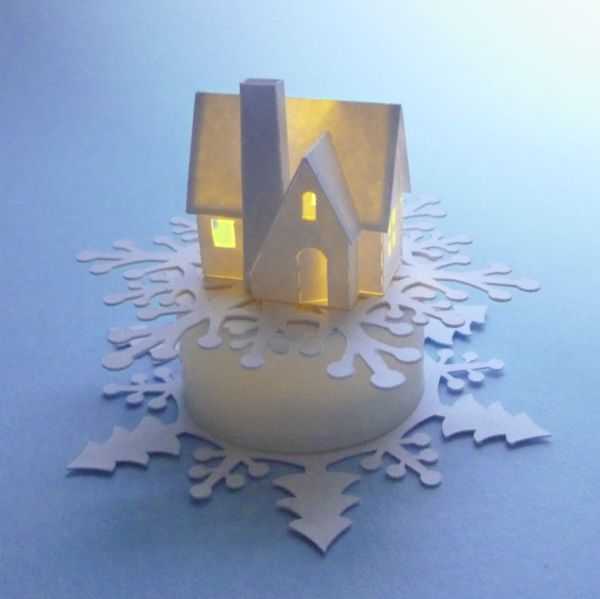
The Snowflake Tea Light set is easy to assemble but first you need to prepare the LED Tea Light by removing the flame shaped cover that is over the hard plastic LED bulb. No electrical work is required.
Use tea lights with a flat top. This type is very easy to find at the "Dollar" stores. The shape of the flames will vary from brand to brand. The batteries in these lights are replaceable. It is a common battery size, even the grocery store stock them.
When the flame has been removed this is how your light will look.
The base of the flame has small tabs that are holding it in place.
You can try using needle nose pliers,
squeezing at the base of the flame and gently wiggling the flame out.
Sometimes this works but most often I have to cut the flame off.
To cut the flame off use a very sharp #11 knife. Just rotate the candle around and use medium pressure to cut through the plastic of the flame. The LED bulb is very hard so you won't be able to cut through it even if your knife touches it.
The micro sized buildings will not fit over the LED bulb unless you enlarge the hole in their base. That is easy to do by gently rotating a #11 knife in the hole. The snowflake set was designed for use with the larger Tiny sized buildings but there is no rule that says you can't put whatever you like on top of the snowflakes.
There are a number of adhesives that will work for your project but you need one that works with plastics for sticking the cardstock to the tea light. I like Crafters' Pick "The Ultimate" but E6000 also works. Double sided tape is another choice for some of the pieces.
You may change the color of the paper by using thin coats of acrylic paint or a permanent marker pen. You can glitter the pieces before of after assembly except for buildings, they do need to be glittered after assembly or the walls won't fit properly.
The snowflake set contains a rectangular piece of cardstock that can be used to wrap around the tea light. You can use that if you wish or you can put glitter directly onto the sides of the tea light. Another choice is to wrap pretty ribbon around the sides of the tea light. You are the creative director here, add your own special touches to your new miniature winter wonderland.
The small disc with the hole in it rest directly on top of the tea light, then the large snowflake with the small hole sits on top of the disc.
Saving the instructions to your computer
You can easily save any of these instructions to your computer for viewing while off-line.
On a PC use the ctrl key + s then choose to save as type "web page html only" Or do a file "save as" from the drop down menu on your browser. Direct it to save the instructions in the folder of your choice.
On a Mac use the command key +s
Direct links to the instructions for the various kits are listed on the right hand side of the page.


